
In the world of lighting technology, LED lighting has revolutionized the way we illuminate our surroundings. LED lights are energy-efficient, long-lasting, and offer versatile lighting solutions for various applications. However, like any other electronic component, LED drivers can sometimes fail, leading to diminished performance or complete lighting failure. In this blog post, we will explore the importance of LED lighting control and discuss the process of substituting faulty LED drivers to ensure optimal performance and longevity.
Understanding LED Drivers:
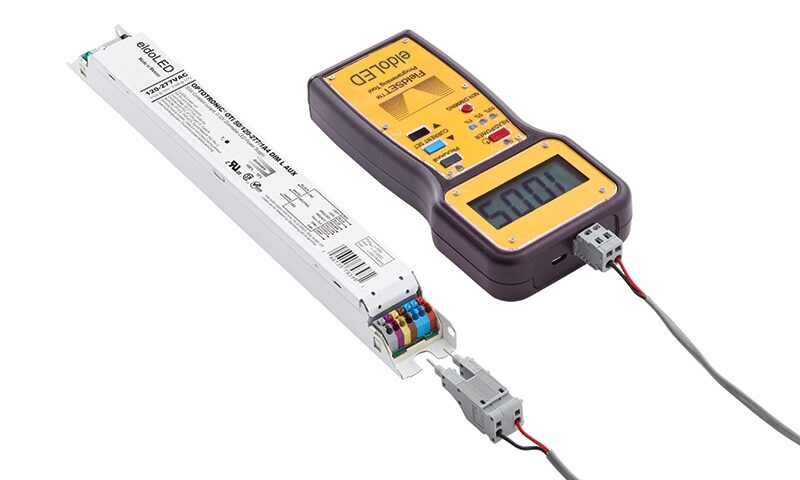
LED drivers play a crucial role in LED lighting systems. They regulate the electrical current flowing through the LEDs, ensuring stable and consistent illumination. A failing LED driver can result in flickering lights, inconsistent brightness, or even a complete shutdown of the lighting system. Recognizing the signs of a failing driver is essential for maintaining the performance of LED lighting.
Identifying Failing LED Drivers:
Several indicators can help identify faulty LED drivers. These include flickering lights, dimming or intermittent illumination, unusual buzzing or humming sounds, or complete failure of the lighting system. If you notice any of these symptoms, addressing the issue promptly is important to prevent further complications and potential safety hazards.
Substituting Faulty Drivers:
When faced with a failing LED driver, replacing it with a new and reliable one is the most effective solution. Here are the steps involved in substituting a faulty LED driver:
- Identify the driver specifications: To ensure compatibility and optimal performance, it’s crucial to identify the specifications of the existing driver, such as voltage, current rating, and dimming capabilities. This information can typically be found on the driver itself or in the product documentation.
- Source a suitable replacement driver: Consult with a reputable lighting supplier or manufacturer to find a compatible replacement driver. Provide them with the specifications you gathered in the previous step to ensure an exact match.
- Prepare for the replacement: Before replacing the driver, ensure the power to the lighting system is switched off. This step is crucial for safety reasons.
- Remove the faulty driver: Carefully disconnect the faulty driver from the wiring harness and remove it from the lighting fixture. Take note of the wiring connections or document them for reference during the installation of the new driver.
- Install the new driver: Connect the wiring of the new driver according to the manufacturer’s instructions and the notes or documentation you made during the removal process. Double-check the connections to ensure they are secure and accurate.
- Test the lighting system: Once the new driver is installed, restore power to the lighting system and verify that the LEDs are functioning correctly. Ensure there are no flickering lights, dimming issues, or abnormal behavior. If any issues persist, recheck the connections or consult with a professional electrician.
Maintaining optimal LED lighting system performance is crucial for residential and commercial applications. By recognizing the signs of failing LED drivers and promptly replacing them with suitable replacements, you can ensure the longevity and efficiency of your LED lighting installations. Remember to consult with professionals or experienced suppliers to ensure compatibility and adherence to safety guidelines. With proper LED lighting control and timely driver replacements, you can enjoy the benefits of reliable, energy-efficient, and visually pleasing lighting for years to come.